How to Remove Rust from Garden Tools Easily
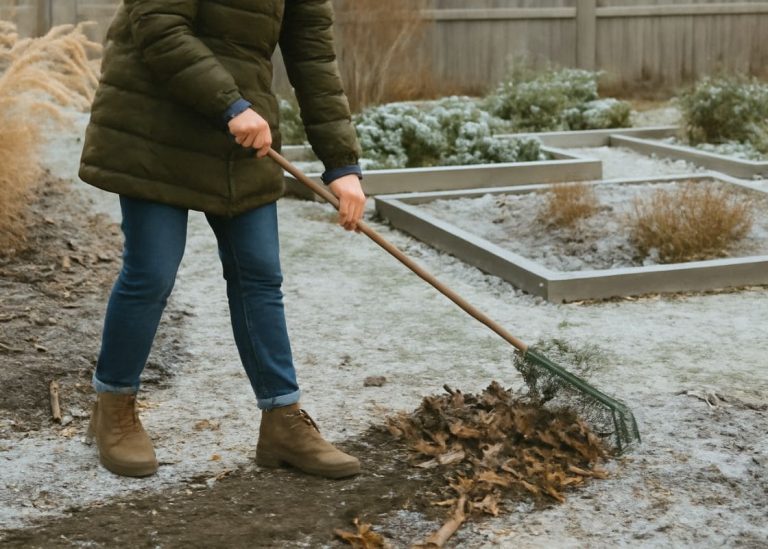
A few months ago, while cleaning the corner of my shed, I noticed how many tools I had pushed aside over the years. Some were slightly rusty, others were covered in deep reddish patches that made them stiff and unpleasant to hold.
I used to assume rust meant a tool had reached its end. Many gardeners think the same, which is why so many trowels, forks, and pruning shears get thrown away long before their true lifespan ends.
That day, instead of buying another replacement, I decided to try restoring them. I didn’t expect much, but the results completely surprised me.
They looked stronger, cleaner, and far more dependable than before. It also saved more money than I realized. Since then, I’ve cleaned every rusty tool the same simple way and it works beautifully each time.
The Materials I Use to Remove Rust
Everything I needed was already in the kitchen or shed:
- White vinegar (2-3 liters)
- Baking soda: ½ cup (about 120 grams)
- A stiff brush or steel wool
- Warm water (1 liter)
- A cloth for drying
- A little oil: 1-2 teaspoons (mineral oil or even cooking oil works for protection)
Step 1: Soaking Tools in Vinegar
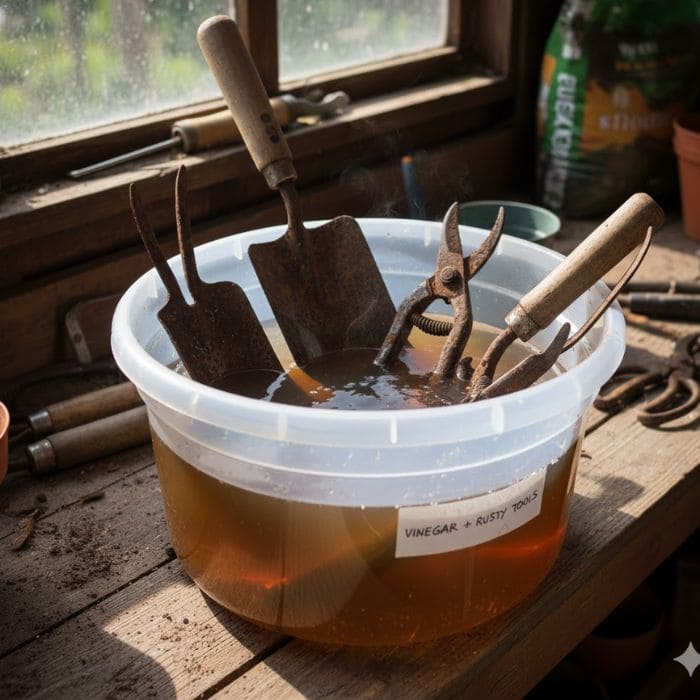
Vinegar became my number-one solution because the acidity naturally loosens rust.
I pour enough vinegar into a bucket or deep container to cover the rusty area and let the tools soak. Light rust softens in a few hours. Heavier rust sometimes needs an overnight soak.
When the metal darkens and the rough spots begin releasing from the surface, I know the vinegar has done its job.
Step 2: Scrubbing Away the Rust
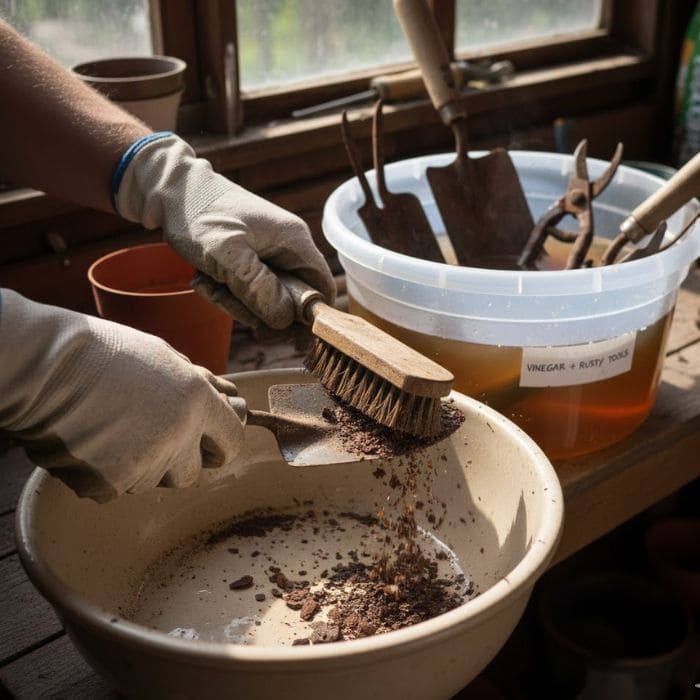
After soaking, I scrub the tool with a stiff brush or steel wool. The rust usually slides off easily at this stage. I work slowly, focusing on grooves near the handle or the spaces where soil tends to collect.
It doesn’t take much force because vinegar does most of the work. As the metal reveals itself again, the tool begins to feel usable.
I always rinse the tool with warm water afterward to remove any leftover vinegar.
Step 3: Baking Soda for a Final Clean
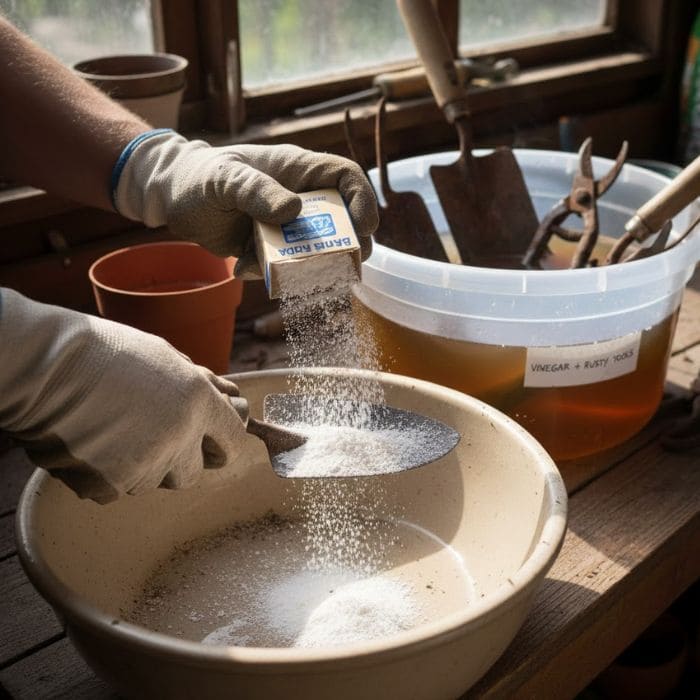
Baking soda helps neutralize the vinegar and lift any remaining rust. I create a simple paste with a little water, spread it over the metal, and scrub again.
The mixture foams gently, and the surface becomes smoother and brighter with each pass.
Once everything looks clean, I rinse the tool thoroughly and wipe it dry with a cloth. Drying is an important step because leftover moisture can start the rusting process again.
Step 4: Protecting the Metal So It Stays Rust-Free
This part is easy but often overlooked. After cleaning, I rub a thin layer of oil over the metal to protect it from moisture. The oil creates a barrier that prevents rust from returning quickly.
The tool feels slightly polished, and the metal looks renewed, almost as if it gained a second life.
Sometimes I even oil the wooden handles to keep them from drying out.
To Be Honest, I Had Been Wasting Too Much Money
After finishing my first round of tool cleaning, I laid everything on the workbench to dry. There were five tools I had nearly thrown away — a hand trowel, two weeding forks, a rusty pair of shears, and an old hoe.
Once cleaned, they looked sturdy again. I realized that if I had replaced each one, I would have spent far more than necessary.
Restoring tools became more than a way to save money. It felt like honoring the work they had done for me in the garden.
A Few Gentle Tips That Were Helpful
Keeping tools rust-free is much easier when small habits become part of the routine. I now store tools in a dry spot instead of leaving them outside after a long day in the garden.
If I see soil stuck to a blade, I brush it off before storing. When a tool gets wet, I give it a quick wipe rather than tossing it into the shed still damp.
These tiny steps prevent rust before it has a chance to settle. Even five minutes of care at the end of a gardening session can add years to a tool’s life.