Growing Sweet Potatoes in Soil Bags: A Space-Saving and High-Yielding Method
There’s something truly special about growing your own vegetables. Every time you plant a seedling, water the soil, and watch the plant grow day by day, it fills your heart in a quiet, comforting way. For me, sweet potatoes have always been one of those plants that bring the loveliest little surprises. And the best part is that you don’t need a big garden—just a few grow bags and a sunny little corner.
A few years ago, I started growing sweet potatoes in bags because I didn’t have much space. I never imagined it would become one of the most fun and rewarding gardening methods I’ve tried. If you have a balcony, a porch, or even just a sunny spot in the yard—this method is made for you.
Why Grow Sweet Potatoes in Soil Bags?
Growing sweet potatoes in bags is not only convenient—it’s surprisingly charming. It proves that with just a little space, you can enjoy a full and generous harvest.
Here’s why I love this method:
- Saves space: You can place the bags anywhere there’s sunlight.
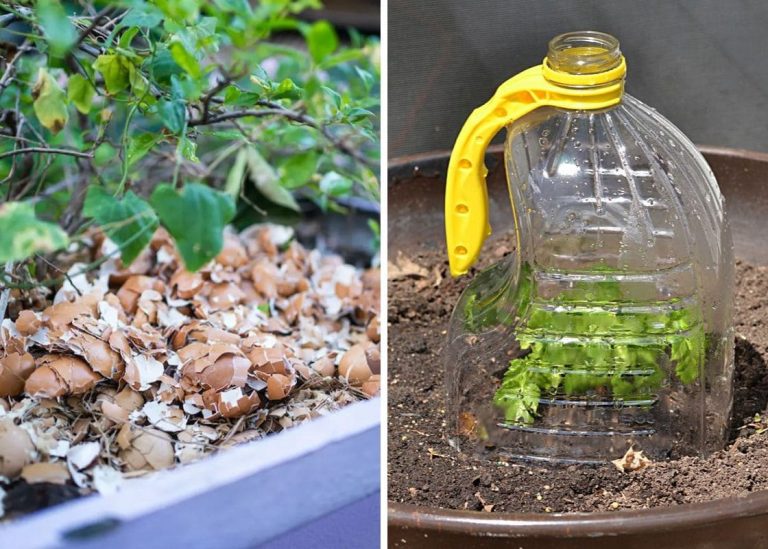
- Great drainage: Prevents the roots from getting waterlogged.
- Fewer pests: Since the soil isn’t directly connected to the ground.
- Easy harvesting: When it’s time, simply tip the bag and pick the sweet potatoes by hand—quick, clean, and fun.
What You’ll Need Before Planting
- Sweet potato slips (young shoots sprouted from mature sweet potatoes)
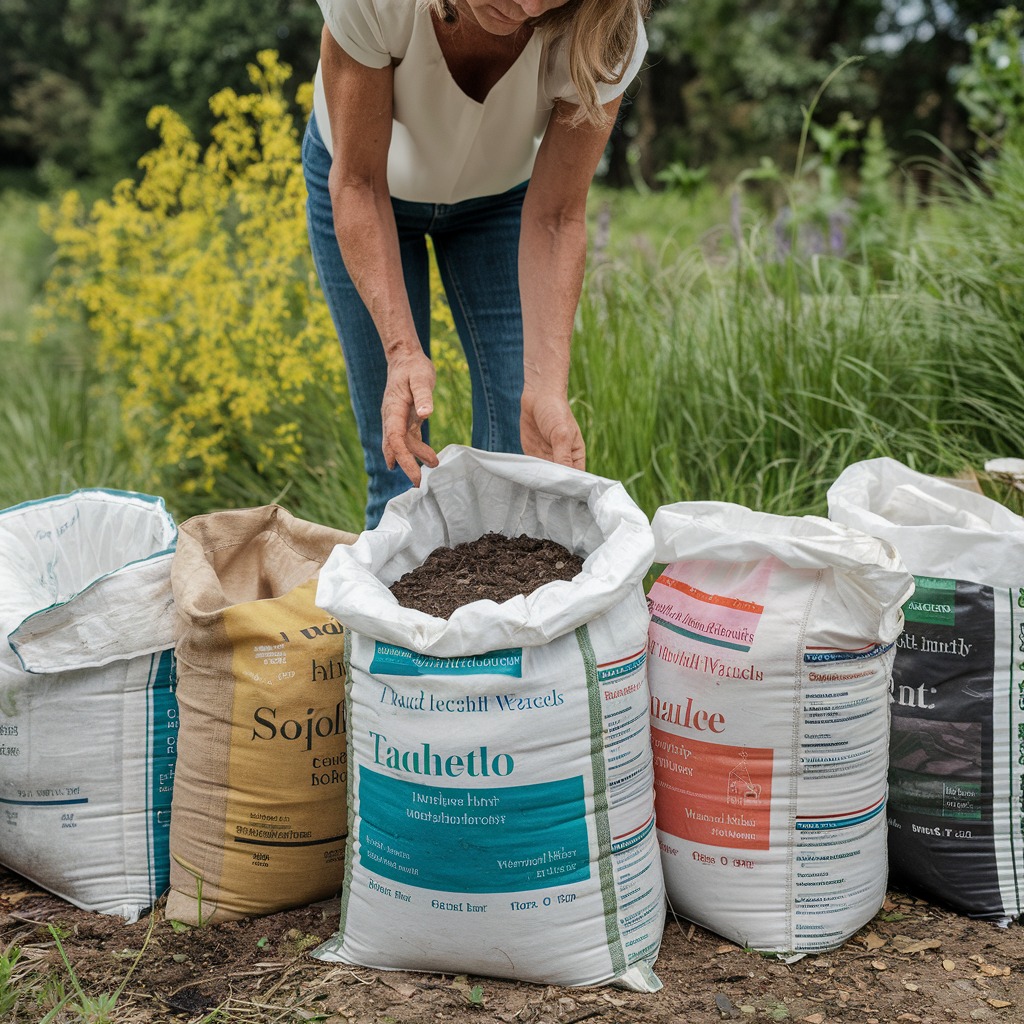
- Grow bags (15–20 liters, or burlap/plastic bags with drainage holes)
- Light, fluffy soil: Mix garden soil with compost and a bit of sand or perlite for better aeration
- Organic fertilizer: Start with 10-10-10, then switch to 5-10-10
- Watering can or a gentle hose spray
- Optional: Straw or dry leaves for mulching
Step-by-Step Growing Guide
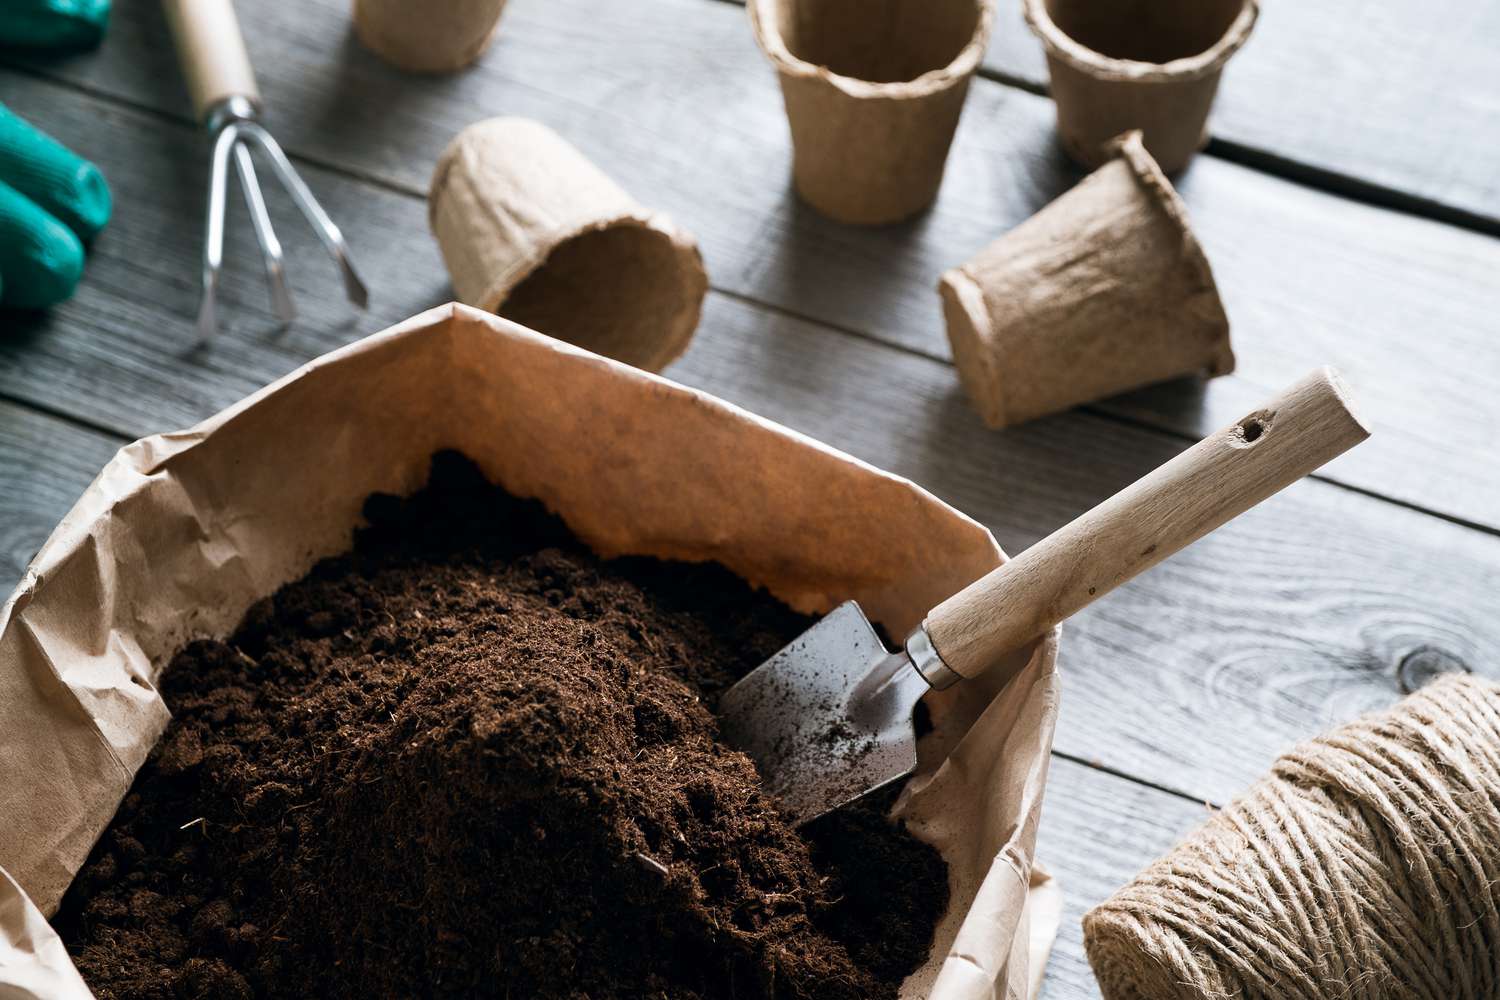
Step 1: Prepare the Grow Bags
Use sturdy fabric or plastic bags that won’t tear easily. Poke a few small holes at the bottom and sides for drainage.
Fold down the top edge of the bag to keep it neat and easier to plant in. Mix soil with compost and add some sand or perlite to keep it loose and airy.
Note: Avoid heavy clay soil—it makes it harder for the tubers to grow.
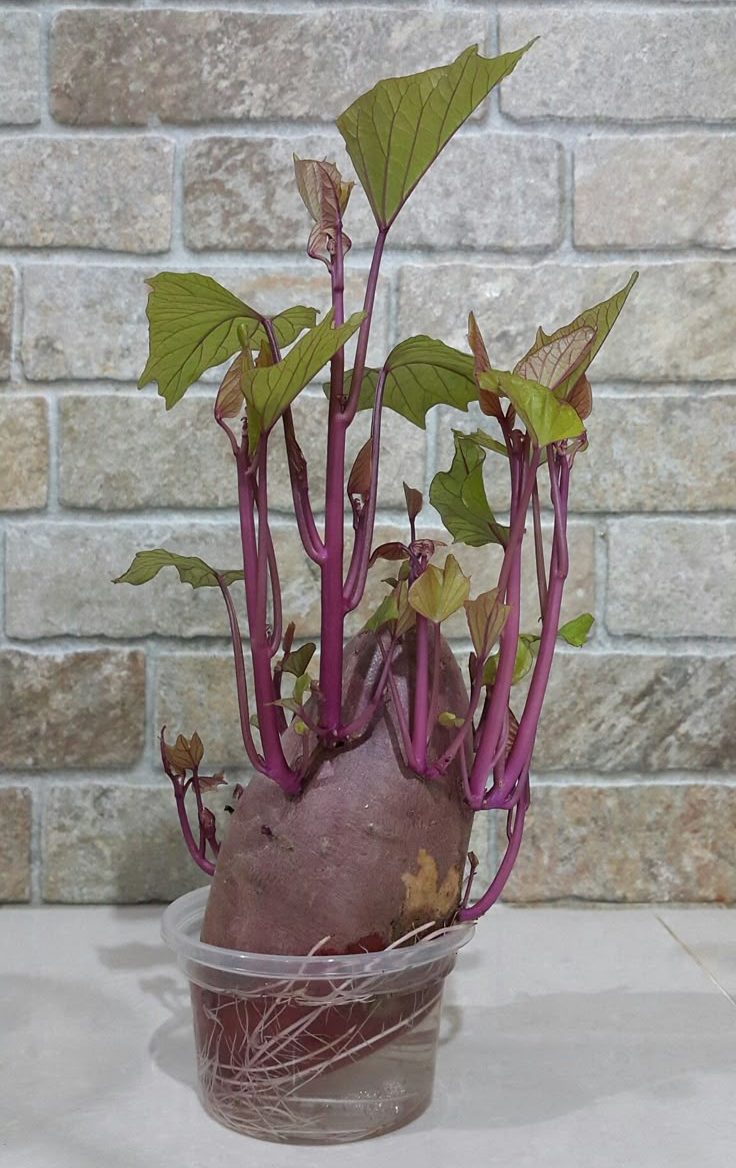
Step 2: Prepare Your Slips
Take a mature sweet potato and place it half-submerged in a cup of water or moist soil (pointy end down). In 1–2 weeks, little shoots will begin to grow.
When the shoots are 15–20 cm long, gently twist them off and place them in water until fine white roots appear.
Tip: If you’re short on time, you can buy slips at garden stores.
Step 3: Plant the Slips in the Bags
- Use your hand to dig a hole about 10 cm deep in the soil.
- Plant each slip about 30 cm apart.
- On average, each bag can hold 3–4 slips.
- Cover the roots gently and water them right after planting.
Step 4: Sunlight, Water, and Patience
Sweet potatoes need plenty of sunshine—at least 6–8 hours a day.
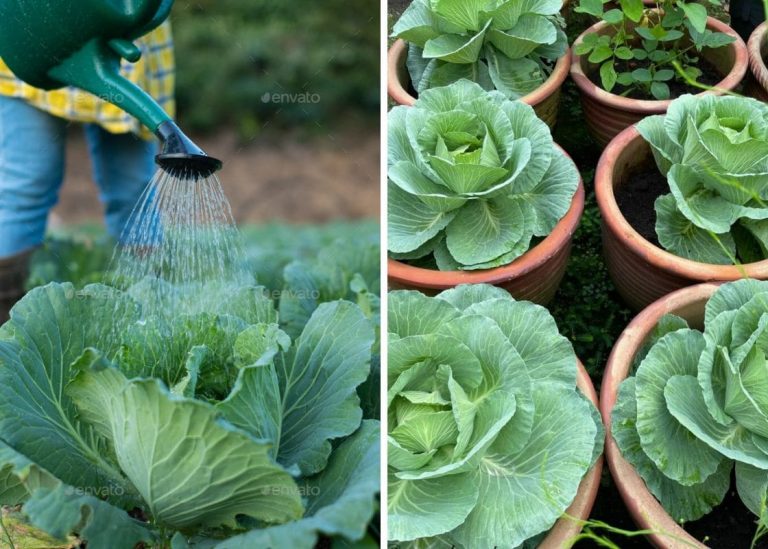
- Water regularly: Keep the soil moist but not soggy.
- Water amount: About 2.5 cm per week, more during hot spells.
Personal tip: I like watering in the early morning—it’s cool, calm, and helps the plants absorb moisture better.
Step 5: Fertilizing Properly
In the first month, use 10-10-10 fertilizer to help the vines and roots develop. Then switch to 5-10-10 to focus energy on tuber growth.
Occasionally, I water with compost tea or diluted seaweed extract for an extra boost.
Step 6: Manage the Vines
Sweet potato vines grow fast. You can train them to climb a trellis or curl them gently around the bag. If the vines get too long, feel free to trim them back so the plant puts more energy into growing tubers. Space out your bags to avoid crowding and let air circulate.
Step 7: Mulch and Protect
- Mulch with straw or dry leaves to help keep the soil moist and cool.
- Pests: If you spot aphids or bugs, gently spray with neem oil and water.
- Diseased leaves: Snip them off quickly to prevent spreading.
Step 8: Watch for Harvest Time
Sweet potatoes usually mature in about 3–4 months. When the vines begin to turn yellow and die back, that’s your signal that harvest time has come.
You can gently feel around the base to check for the size of the tubers. If they feel plump and full, they’re ready!
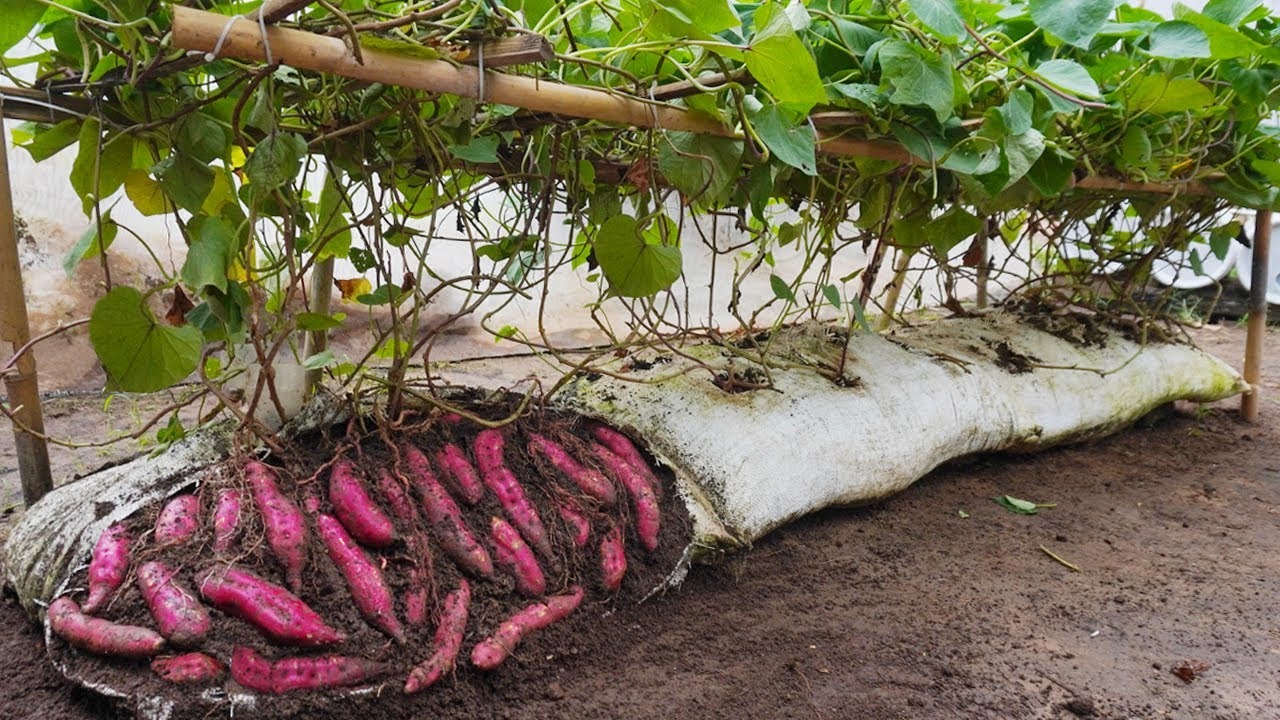
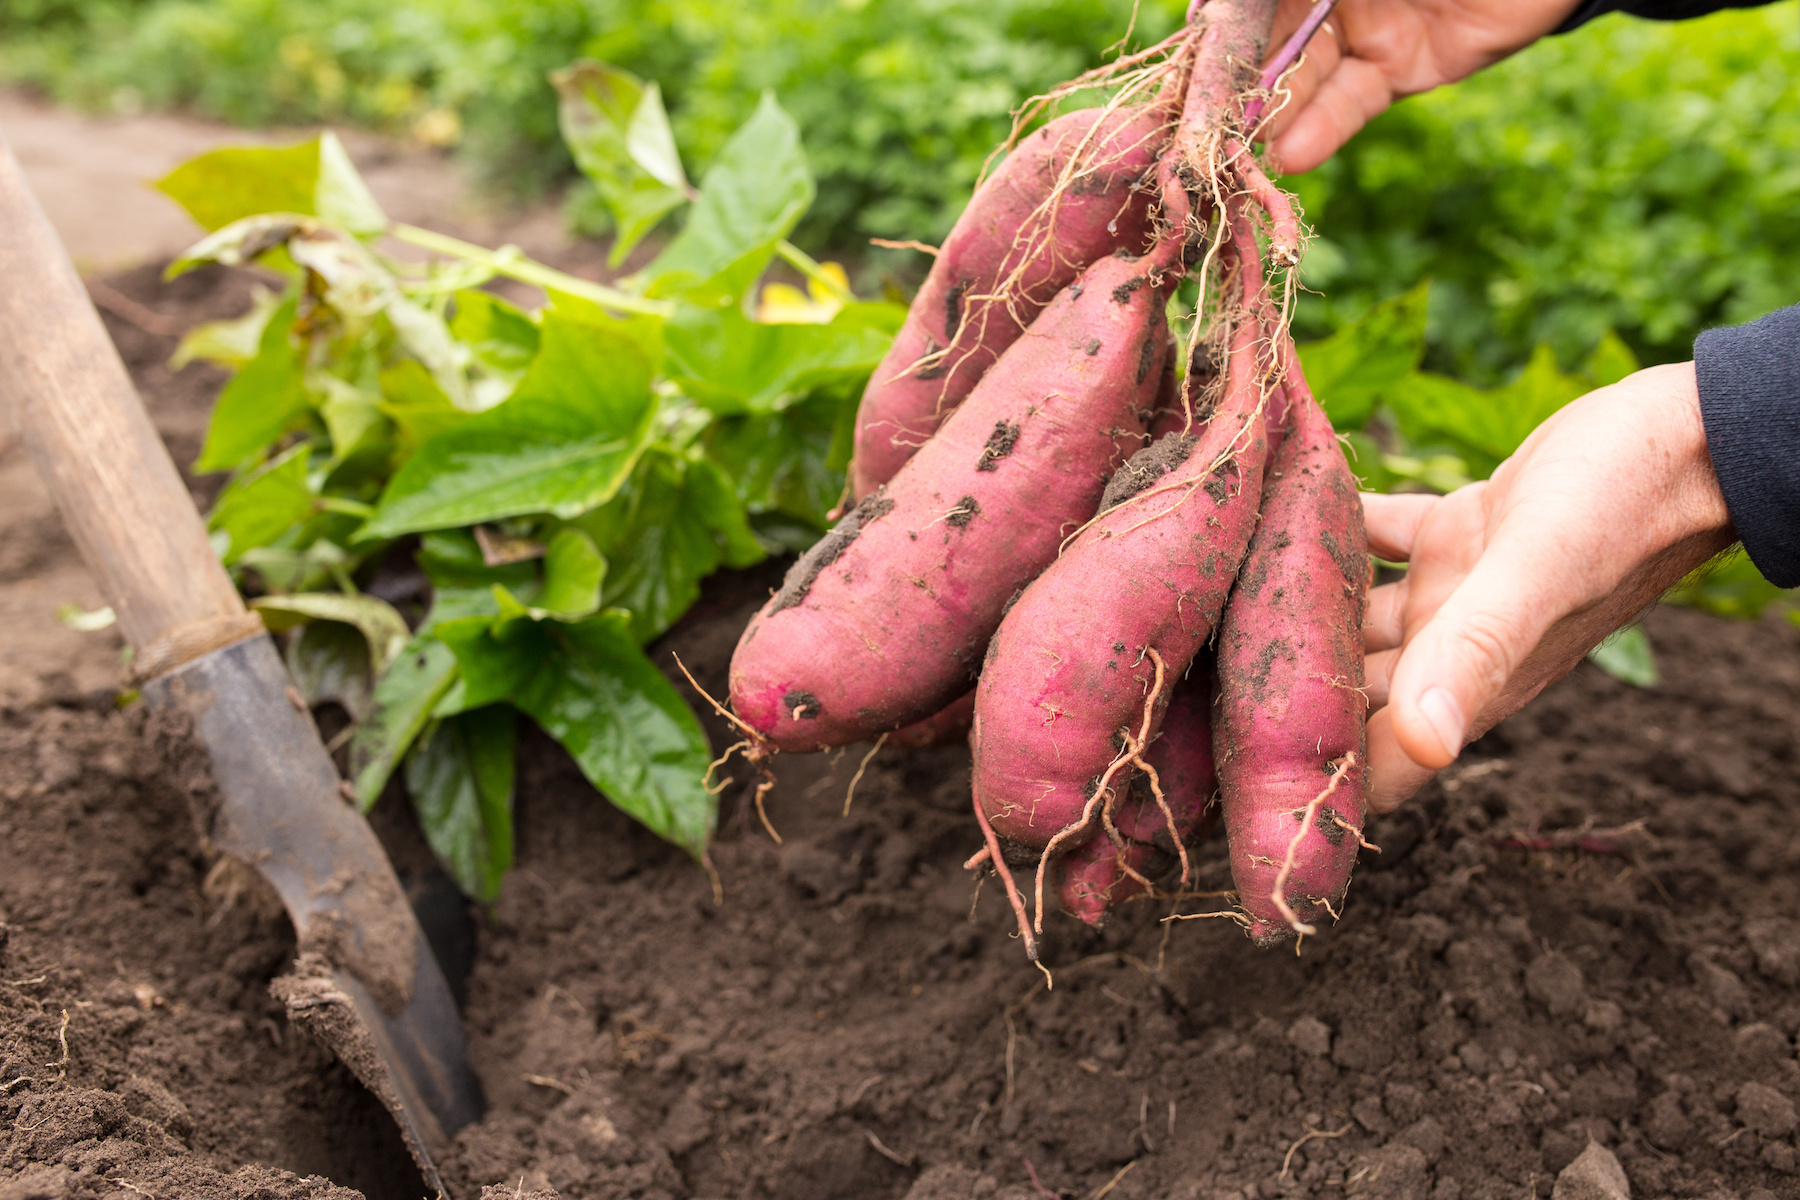
Step 9: Harvest – A Happy Moment
Dump the soil from the bag onto a tarp or large tub. Use your hands to carefully pick out the sweet potatoes—try not to scratch or bruise the skins.
Don’t wash them just yet—just brush off the dirt and let them air dry.
Step 10: Cure and Store
Place your sweet potatoes in a warm (27–29°C), humid place for 10–14 days to sweeten and improve storage life. I usually put them in a box with a damp towel in a spot with soft sunlight. After curing, store them in a cool, dark, airy space (around 13°C).
If stored properly, sweet potatoes can last for months—and they taste even better with time.
Common Mistakes and How to Avoid Them
- Overwatering: Causes root rot.
- Planting too early when it’s still cold: Temperatures under 18°C aren’t ideal.
- Dense, heavy soil: Prevents tubers from developing.
- Overcrowding: Leads to small or fewer sweet potatoes.
- Harvesting too early: Tubers will be underdeveloped and lack sweetness.
Final Thoughts
Growing sweet potatoes in soil bags doesn’t take much—just a little time, a sunny corner, and some patience. But in return, you’ll get peaceful mornings spent watering your plants, the quiet thrill of discovering hidden tubers in the soil, and the deep satisfaction of bringing home a basket of sweet potatoes you grew yourself.
If you’re not sure where to start—start right here. One grow bag, one little slip, and a small belief that something wonderful can grow from it.
Wishing you a joyful season and a bountiful harvest! 🍠🌿