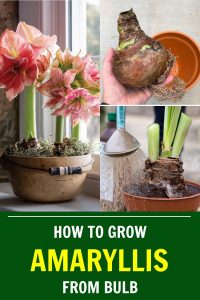
How to Grow Amaryllis: A Step-by-Step Guide to Success
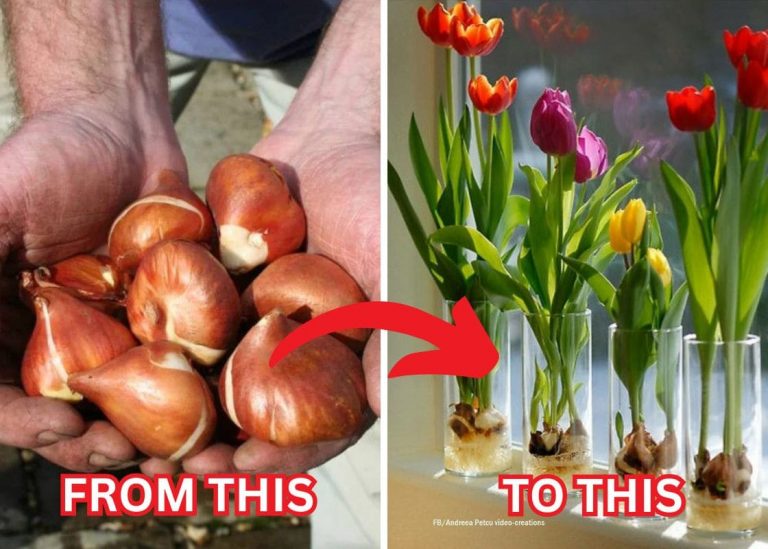
Wandering through a winter garden fair last December, I spotted a table bursting with giant bulbs wrapped in crinkly paper. Nestled among them were Amaryllis bulbs, their papery skins glowing like treasure under the soft market lights. I brought one home and tucked it inside with frost lining the windows. I pressed a bulb into a pot and hoped for magic.
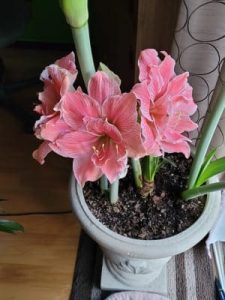
Weeks passed, and just when the days felt the darkest, a green shoot pierced the soil, growing taller each morning. Watching it was like witnessing a slow, unfolding miracle, one leaf, one stem at a time. By late winter, when the world outside was still pale and shivering, my Amaryllis exploded into color—huge, trumpet-shaped blooms that lit up the room like a sunrise.
That simple act of growing one flower through the cold changed the way I saw winter forever. Try to grow Amaryllis, and you’ll be amazed at how much joy one single bloom can bring.
Choosing the Right Amaryllis Bulb
The first step toward success starts with your bulb. I always tell friends: feel before you buy. Look for large bulbs that feel weighty in your hand, like they’re holding a secret. Light, soft, or shriveled bulbs often struggle later.

Pick a color that stirs something inside you. Deep crimson, soft blush, candy-striped wonders—they’re all out there. I once chose a white Amaryllis on a whim, and its snowy blooms against the dark winter days made the whole season feel enchanted.
Preparing the Bulb for Planting
When you unwrap your bulb, take a moment to inspect the roots underneath. Gently remove any shriveled, dry ones with a careful snip, but leave healthy ones intact—they’re the plant’s lifeline.
Decide whether to pot it or plant it outdoors. For pots, I prefer ones just about two inches wider than the bulb, with drainage holes. Soggy bulbs are sad bulbs, and no one wants that. Line the bottom with a rich, well-draining potting mix, and make sure the top third of the bulb stays proudly above the soil.
Planting the Amaryllis Bulb
Planting feels like tucking a secret into the earth. Center the bulb in the pot, roots down, and nestle soil around it until only the shoulders peek out. Press gently to anchor it in place without crushing its spirit.
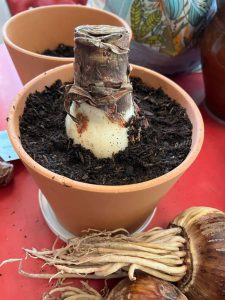
The key is balance: firm enough that it won’t tip, loose enough that roots can breathe. Every time I plant one, it feels like placing a little hope into the world.
Watering and Lighting
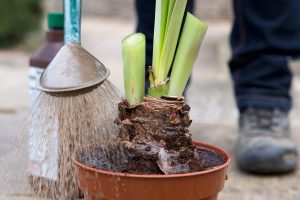
After planting, offer your Amaryllis a deep drink, enough to settle the soil around the roots. Then pause. Let the soil dry slightly between waterings—think damp sponge, not soggy sponge.
Place your pot where it can bathe in bright, indirect light. A sunny window is perfect. In the garden, aim for a spot with morning sun and a little afternoon shade to protect those elegant blooms from harsh rays.
Fertilizing for Strong Growth
Once green shoots stretch up, it’s time to offer gentle encouragement. I use a liquid fertilizer diluted to half strength about once a month. A good bloom-boosting formula, rich in potassium, helps flowers develop fuller and more vibrant.
Too much fertilizer can spoil the show, though. A light touch, like seasoning a favorite dish, brings out the best results. In their quiet way, Amaryllis plants know how to shine without being pushed.
The Blooming Process
One of the most thrilling garden moments is seeing that first thick stalk push up from the bulb. I often find myself checking it morning and night, marveling at how fast it grows.
In a few weeks, buds begin to form, tightly wrapped like precious parcels. Then one morning—almost suddenly—the blooms unfurl, grand and luminous, transforming the whole space around them. It’s like a standing ovation in your living room.
Supporting the Flower Stalks
Some stems grow so enthusiastic they lean and sway with their heavy crowns of flowers. I quietly slip in a bamboo stake, tying it loosely with soft garden twine.
Supporting the stems early prevents damage later, and I’ve found it’s easier to do before the blooms burst open. Think of it as offering a little backup for their big performance.
Caring for Amaryllis After Blooms Fade
When the last petals fall, it can feel a little bittersweet. But underneath, the bulb is already preparing for another show. Cut the flower stalk down to an inch above the bulb but leave the green leaves—they’re busy gathering sunlight to refuel.
Keep watering sparingly and offering light until the leaves yellow naturally. This restful phase is the plant’s way of storing energy for next season’s encore.
Storing Amaryllis Bulbs for the Next Season
Once the leaves have dried up, gently lift the bulb from the pot and brush off the soil. I wrap mine loosely in newspaper and tuck them into a cool, dry spot—somewhere dark and patient.
After 6–8 weeks of deep rest, the bulbs wake again, ready to dazzle. Replant, water, and wait for that familiar thrill: the rising green spear that promises another round of breathtaking blooms.
Troubleshooting
No flowers: If your Amaryllis seems reluctant to bloom, light is usually the missing ingredient. Move it closer to a bright window, and make sure it had enough dormancy time before replanting.
Yellow leaves: Drooping yellow leaves often signal watering troubles. Let the soil dry a bit more between drinks, or check if nutrients are running low and offer a diluted fertilizer feeding.
Final Thoughts
Growing Amaryllis has taught me more about patience, hope, and quiet beauty than almost any other plant. Tending them through winter feels like planting a secret promise that the world will warm and color will return.
Every bulb carries a silent joy inside, waiting for the right moment to unfold. If you’re ready to try it yourself, pick up a bulb and tuck it into some soil. I hope you find the same quiet happiness in nurturing your own Amaryllis to bloom