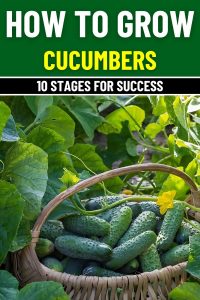
10 Stages to Grow Cucumbers Successfully with a Trellis
If you’ve ever struggled with limited garden space or found cucumbers growing wild on the ground, using a trellis might be the game-changer you need.
Growing cucumbers vertically not only saves space but also keeps your plants healthier, prevents rot, and makes harvesting incredibly easy.
I’ve grown cucumbers both on the ground and up a trellis, and let me tell you, the trellis method wins every time! The vines stay organized, pests are easier to manage, and the cucumbers grow straighter and cleaner.
Stage 1: Choose the Right Cucumber Variety
The first step to success is selecting the right type of cucumber. There are two main types to choose from:
- Slicing Cucumbers – These are the classic long, smooth-skinned cucumbers ideal for fresh eating. Popular varieties like ‘Straight Eight’ or ‘Marketmore 76’ thrive on trellises, growing beautifully long and straight.
- Pickling Cucumbers – These cucumbers are shorter, bumpier, and perfect for making homemade pickles. Varieties like ‘Boston Pickling’ or ‘National Pickling’ grow just as well on a trellis, producing more compact fruits that are easy to harvest.
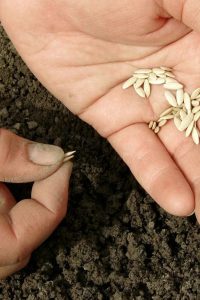
When selecting seeds, always choose high-quality, disease-resistant varieties from a reliable source.
If you’re using old seeds, check their viability first by soaking them in water, viable seeds will sink, while non-viable seeds will float.
Stage 2: Prepare the Planting Area
Cucumbers need full sun, so choose a planting location that receives at least 6–8 hours of direct sunlight daily. The soil should be rich, well-draining, and slightly acidic to neutral (pH 6.0–6.8).

Before planting, I always amend my soil with compost or aged manure to boost nutrients and improve structure.
If your soil is heavy clay or too sandy, mix in organic matter like peat moss or coconut coir to create a better growing environment.
Stage 3: Build the Trellis
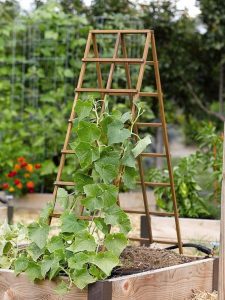
A strong trellis is essential for vertical cucumber growth. You can use a variety of materials like wooden stakes, metal fencing, or netting. Here’s how I set up mine:
- Install sturdy stakes or poles at least 6 feet tall.
- Attach a horizontal support like wire mesh, nylon netting, or bamboo slats.
- Secure everything tightly to withstand the weight of mature cucumber vines.
A-frame trellises work well too, especially if you want cucumbers to hang neatly down the sides for easy picking.

Stage 4: Plant the Seeds or Seedlings
Once your trellis is in place, it’s time to plant. You can either start seeds indoors 3–4 weeks before the last frost or direct sow them outdoors when the soil temperature reaches 60°F (15°C).
If planting seeds directly, sow them ½ inch deep and 12 inches apart at the base of the trellis. Keep the soil moist but not soggy to encourage germination, which usually occurs in 5–10 days.
For transplanting seedlings, space them 12–18 inches apart and water immediately after planting to reduce transplant shock.
Stage 5: Guide the Vines Up the Trellis
As your cucumbers grow, they’ll naturally start reaching for support, but you might need to give them a little help at first.
Once they develop tendrils, gently wrap them around the trellis. Avoid tying them too tightly, as this can restrict growth.
Stage 6: Watering and Fertilizing for Maximum Growth
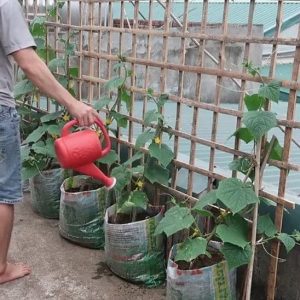
Cucumbers need consistent moisture to produce juicy, crisp fruit. I water mine deeply 2–3 times a week, especially during hot weather.
Using drip irrigation or a soaker hose keeps moisture at the roots without wetting the leaves, which helps prevent fungal diseases like powdery mildew.
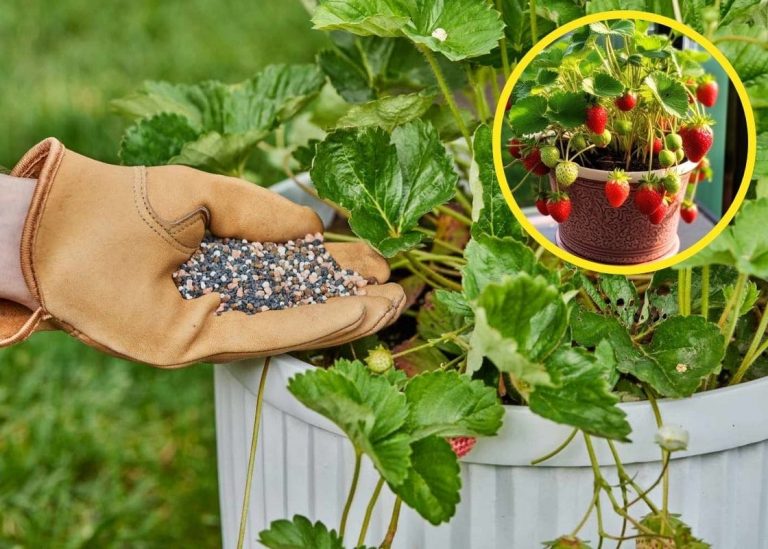
For fertilization, I feed my cucumber plants every 2–3 weeks with a balanced 10-10-10 fertilizer or compost tea.
If you want to boost fruit production naturally, mix 2 aspirin tablets into a gallon of water and use it as a foliar spray, the salicylic acid in aspirin strengthens plant immunity and enhances growth.
Stage 7: Pruning and Pest Management
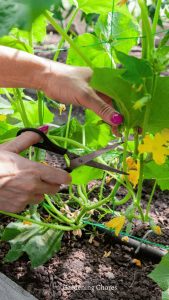
To encourage higher yields, prune your cucumber plants by removing lower leaves and any unnecessary side shoots that don’t contribute to fruit production. This allows for better airflow, reducing the chances of disease.
Watch out for common cucumber pests like aphids, spider mites, and cucumber beetles.
If you notice them, try using neem oil, insecticidal soap, or introducing beneficial insects like ladybugs and lacewings.
Stage 8: Flowering and Pollination
Cucumber plants produce both male and female flowers, with the males appearing first. You’ll know the difference because female flowers have a tiny baby cucumber at the base.
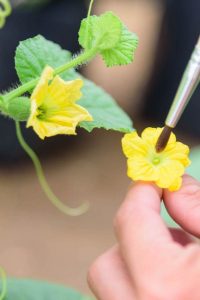
For successful pollination, you need bees or other pollinators. If your flowers aren’t setting fruit, try hand-pollinating using a small paintbrush to transfer pollen from male to female flowers.
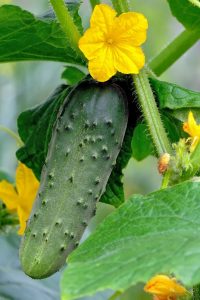
Stage 9: Fruiting and Support
Once pollinated, tiny cucumbers will begin forming. Keep them off the ground by ensuring they climb the trellis properly. If necessary, tie heavier fruits to the trellis with soft fabric strips to prevent breakage.
To prevent bitterness, maintain consistent watering and harvest cucumbers while they’re young and tender.
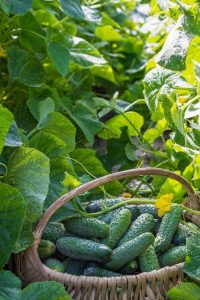
Stage 10: Harvesting Your Cucumbers
Cucumbers grow fast, so check them daily once they start maturing. Here’s what I’ve learned about picking them at the perfect time:
- Slicing cucumbers – Best harvested at 6–8 inches long for peak flavor.
- Pickling cucumbers – Ideal at 2–4 inches for crisp, firm texture.
Use sharp scissors or pruners to cut cucumbers without damaging the vines. Frequent harvesting encourages more fruit production, so the more you pick, the more you get!